Ironing & Pressing Masterclass
Ask any experienced sewist what separates amateur-looking garments from professional ones and you’ll hear the same answer: pressing. I press at nearly every stage of making something (seams, darts, hems), and I press finished garments before they go into the wardrobe.
The difference is dramatic. Crisp edges, flat seams, and fabric that drapes the way it was designed to drape. This masterclass covers everything I know about ironing and pressing handmade clothes, including the mistakes that melt, shine, and scorch.
Ironing vs Pressing: They’re Not the Same
Ironing is what you do to finished clothes: sliding the iron back and forth to remove wrinkles. Pressing is a construction technique: lifting the iron straight up and down to set seams, shape fabric, and create crisp edges without stretching it.
The distinction matters because sliding an iron across a handmade seam can stretch and distort it, especially on bias-cut pieces and knits. When I finish a garment, I press seams open with an up-and-down motion. When I wear it, I iron out the wrinkles. Two motions, two purposes.
Know Your Heat: Settings for Every Fabric
| Fabric | Heat setting | Steam | Notes |
|---|---|---|---|
| Cotton | High | Yes, generous | Dampen stubborn wrinkles; cotton forgives |
| Linen | High | Yes, heavy | Press while slightly damp for best results |
| Wool | Medium | Yes, light | Always use a pressing cloth; never press dry wool hard |
| Silk | Low-medium | Minimal | Press on wrong side; water spots stain some silks |
| Polyester / synthetics | Low | Light | Too much heat melts and creates permanent shine |
| Velvet / corduroy | Low, from wrong side | Steam only, no pressure | Pressing crushes the pile, use a needle board or towel |
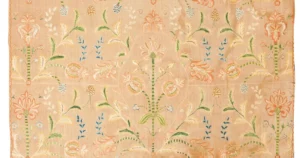
| Embroidery (general) | Medium, wrong side | Light | Press face-down on a thick towel to protect texture |
When in doubt, start cooler than you think. You can always increase heat; you can’t un-scorch fabric.
The Tools That Actually Matter
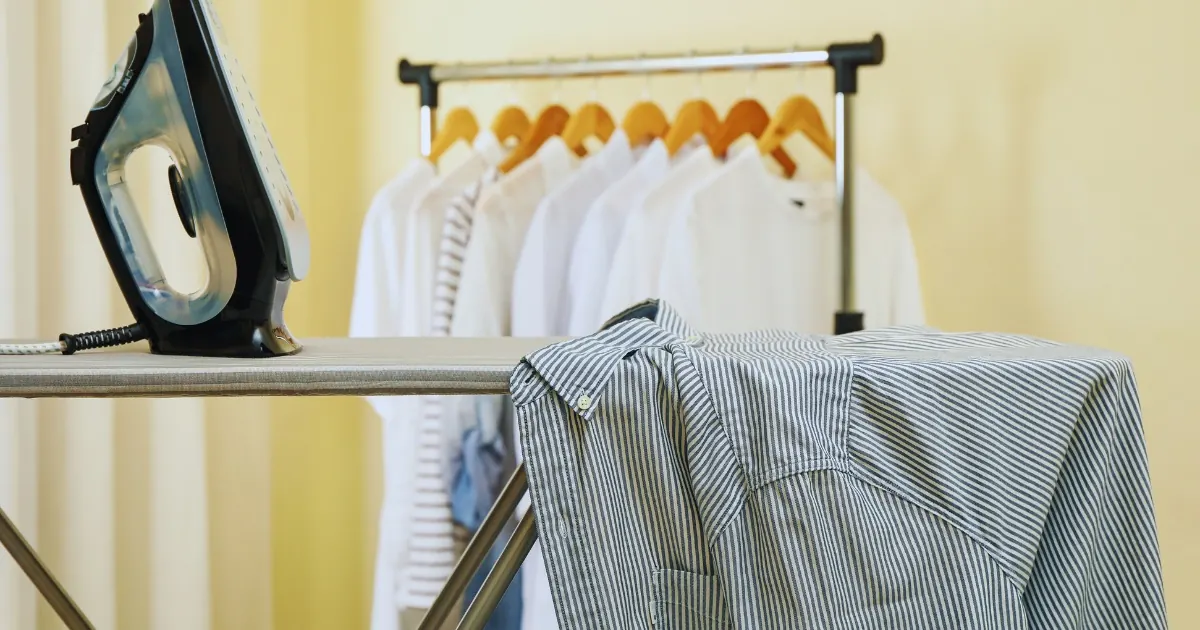
A good iron
You don’t need the most expensive model, but you need three things: reliable temperature control, a smooth soleplate, and a steam function that doesn’t spit. I test a new iron on scrap fabric first, spitting irons leave rusty water spots that are nearly impossible to remove from light silk.
A pressing cloth
This is the single most underrated tool in garment care. A plain cotton pressing cloth (a clean tea towel works) sits between the iron and the garment, preventing shine, scorch marks, and direct heat damage.
I use one on everything except sturdy cottons. For dark fabrics, use a white cloth; for light fabrics, also white — just keep it clean.
Tailor’s ham and sleeve board
A tailor’s ham (that firm, ham-shaped cushion) lets you press curved areas like bust darts, sleeve caps, and collars without creating creases where you don’t want them. A sleeve board (a narrow mini ironing board) presses sleeves without creasing both layers together. Both are inexpensive and last decades.
A thick towel for embroidery
To press embroidered work without flattening the stitches, lay the garment face-down on a folded bath towel and press from the wrong side. The towel’s pile cushions the raised stitches. This technique alone will transform how your embroidery looks after washing.
Pressing Embroidery Without Ruining It
Embroidery and direct iron heat are enemies. Here’s my exact method:
- Turn the garment inside out.
- Lay it face-down on a thick, clean towel on the ironing board.
- Set the iron to the temperature the base fabric tolerates, using a pressing cloth.
- Press with an up-and-down motion, never slide across raised stitches.
- For metallic threads, use the lowest effective heat; metallics melt and discolour easily.
For 3D embroidery (stumpwork, raised petals, French knot clusters) skip the iron entirely and use steam held a few inches above the work, then reshape with your fingers.
The Shine Problem (and How to Fix It)
That glossy sheen on dark trousers or a wool skirt comes from the iron flattening the fibres. Prevention: pressing cloth, correct heat, no sliding.
The fix: steam the shiny area and brush gently with a soft clothes brush to lift the fibres, or press again from the wrong side with a cloth. Severe shine on synthetics is permanent, another reason to start cool.
Steaming: The Gentle Alternative
For delicate handmade pieces (silk blouses, beaded bodices, anything you’d be nervous to iron) a handheld steamer is wonderful.
Hang the garment, hold the steamer a few inches away, and let gravity and steam release the wrinkles. It won’t create crisp creases, but it’s nearly impossible to damage fabric with it. I steam all my silk and beaded pieces instead of ironing them.
Pressing During Construction: Where Quality Is Born
Most people only think about the iron when a finished garment wrinkles. Professionals know the iron earns its keep during construction. Here’s where I press while making something:
- After every seam is sewn: press the seam as sewn first (to meld the stitches into the fabric), then press it open or to one side as the pattern directs. Skipping this is why homemade seams look lumpy.
- Darts: press vertical darts toward the centre, horizontal darts downward, always over a tailor’s ham so the shaping stays smooth.
- Hems: press the hem fold before stitching, a pressed hem sews straighter and more evenly than one you’re fighting to hold.
- Collars and cuffs: press, then understitch, then press again. Crisp collars are 80% pressing, 20% sewing.
- Before cutting: press your fabric before laying out pattern pieces. Wrinkles distort cutting lines, and a miscut piece can’t be uncut.
The habit to build: sew a little, press a little. Keep the iron on (safely) throughout a sewing session rather than batching all pressing at the end. Your seams will sit flatter and your finished garment will look noticeably more professional.
Ironing Different Garment Types
Shirts and blouses
Work in this order: collar (wrong side first, then right side), yoke, cuffs, sleeves (crease aligned), then body panels. For handmade shirts with delicate buttons, iron around them or cover with a cloth, a hot iron can melt or crack shell and plastic buttons.
Pleated skirts
Pleats need steam and patience. Align each pleat, pin or baste it in place if needed, then press with steam through a cloth. For knife pleats that must stay sharp, a strip of brown paper inside each pleat while pressing gives a razor edge. Never slide the iron across pleats — press straight down.
Trousers
Press the crease by aligning inseams and outseams, then pressing the front crease from hem to knee and from waist to knee (pressing the full length in one go can stretch the fabric). Press pockets flat first so they don’t imprint through.
Key Takeaways
- Press seams with an up-and-down motion; iron wrinkles with a sliding motion, know which you’re doing.
- Always use a pressing cloth on wool, silk, dark, and delicate fabrics.
- Press embroidery face-down on a thick towel, from the wrong side, never sliding.
- Start with lower heat; match temperature to the most delicate fibre present.
- Steam instead of iron for beaded, metallic, and very delicate pieces.
Related guides
Storing Handmade Clothes: Complete Guide — for pressing before storage; Denim Care Guide — for pressing denim.
Frequently Asked Questions
Can I iron directly on embroidery stitches?
No. Direct heat flattens and can melt or discolour threads. Always press embroidered areas from the wrong side, face-down on a towel, with a pressing cloth.
Why does my iron leave brown spots on clothes?
That’s usually mineral deposits or rust from the steam chamber spitting. Use distilled water in your iron, empty the tank after use, and clean the soleplate regularly. Test steam on a cloth before touching a garment.
How do I remove a crease I accidentally pressed in?
Steam the area thoroughly, then press from the wrong side with the grain of the fabric while gently stretching it back into shape. On wool, this works well; on synthetics, a heat-set crease may be permanent.
Is a cheap iron okay for handmade garments?
A basic iron with accurate temperature control is fine. What matters more is technique: pressing cloth, correct heat, and the right motion. I’d rather have a cheap iron and good habits than an expensive iron and bad ones.