Cross-Stitch Basics
I’ll be honest about how I started cross-stitch: I thought it was too simple to be interesting. One stitch, repeated. A child’s craft.
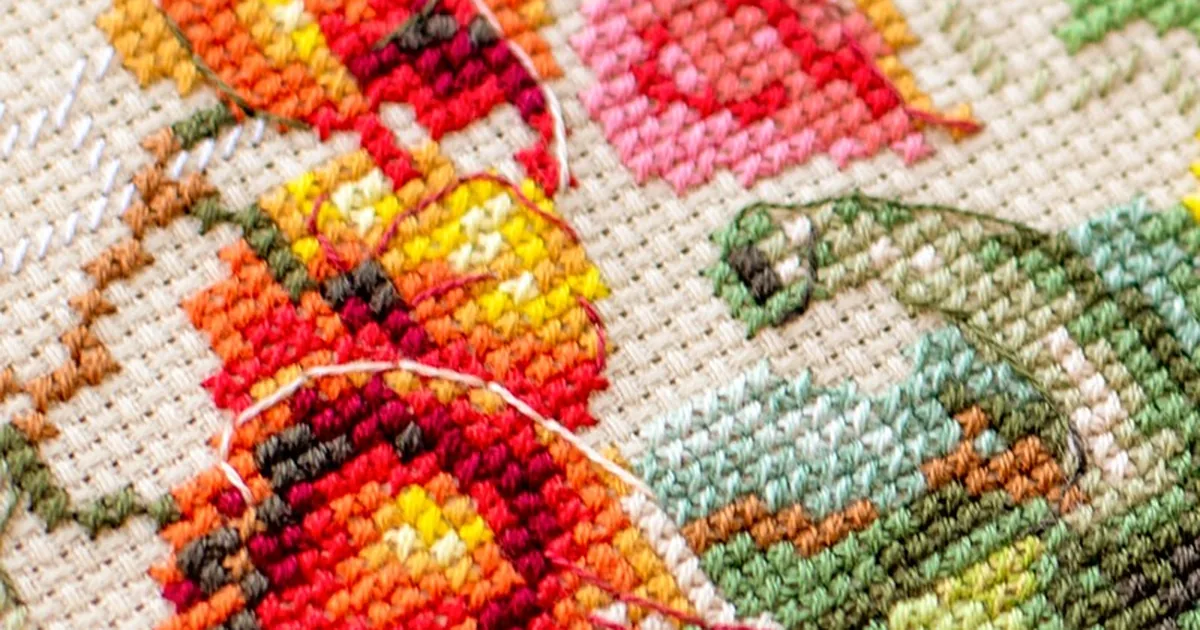
Then I watched a colleague finish a piece she’d been working on for eight months (a landscape built entirely from those “simple” crosses), and from across the room it looked like a watercolor. Up close, every cross was identical, every color transition smooth. That’s when I understood: cross-stitch isn’t simple. It’s pure. There’s nowhere to hide. Every flaw in your technique is visible in the grid, and every bit of discipline shows too.
Cross-stitch is a counted-thread embroidery where each stitch forms an X over a grid intersection of the fabric.
Designs are read from charts (colored squares on graph paper, one square per stitch) which means if you can count and follow a map, you can stitch anything from a monogram to a museum-grade reproduction. This post you from zero to a finished, framed-worthy first piece.
How Cross-Stitch Works
The entire craft is one unit: the cross. Each cross has two arms, the bottom leg (worked first, e.g., bottom-left to top-right) and the top leg (top-left to bottom-right).
The single rule that governs all quality cross-stitch: the top legs must all slant the same way. Every one. Across the whole piece. Mixed slant directions catch light unevenly and make the work look amateur from across the room. This is the first thing experienced stitchers check, and it’s the habit to build from stitch one.
Cross-stitch is worked on even-weave fabric, cloth where warp and weft threads form a visible, countable grid. You count squares on the chart, count threads on the fabric, and the design transfers itself. No drawing skill required, which is exactly why it’s the world’s most accessible embroidery.
Materials: The Starter Kit
| Item | What to buy | Why |
|---|---|---|
| Fabric | 14-count Aida cloth | The universal beginner ground; stiff, clearly gridded, forgiving |
| Thread | Stranded cotton floss (2 strands for 14-count) | Standard; huge color range; mercerized for sheen |
| Needle | Size 24 tapestry needle | Blunt point slides between weave threads instead of piercing them |
| Hoop | 15–20 cm wooden or plastic hoop | Keeps fabric taut for even stitches |
| Scissors | Small embroidery scissors | Clean cuts; frayed ends are unthreadable |
| Chart | A beginner pattern with ≤10 colors | Limits thread changes while you learn the mechanics |
About Aida vs. linen: Aida’s grid is woven as visible blocks, which makes counting trivial, start here. Linen (worked “over two threads”) gives a finer, more elegant result but demands confident counting. Graduate to linen on your third or fourth project, not your first.
Thread length and preparation
Cut floss to about 45 cm (roughly elbow to fingertip). Longer lengths tangle and abrade; the constant pull through fabric wears the thread’s sheen.
Separate the strands you need (usually 2 for 14-count Aida), then let the strands hang and recombine — this “stripping” removes the factory twist and gives smoother, flatter stitches. It feels fussy the first time; by the third project you’ll do it automatically.
The Stitch, Step by Step
The single cross (for isolated stitches)
Bring the needle up at the bottom-left hole of your square. Take it down at the top-right. That’s the bottom leg.
Come up at the bottom-right, cross over, and go down at the top-left. One complete X. Keep the tension even, the thread should lie flat in the square without pulling the holes out of shape.
The row method (for runs of the same color)
This is how real pieces get stitched: work all the bottom legs in a row first (/////), then come back across with all the top legs (\\\\\). It’s faster, and (crucially) it makes consistent slant direction automatic. I stitch almost everything in rows; single crosses are only for isolated stitches and confetti areas.
Starting and ending thread
No knots. Ever. On the front they’d show as lumps; on the back they’d create bulk that shows through. Instead:
- Start with the loop method (for even strand counts): fold your strands, thread the loop end through the needle, take a tiny stitch, and pass the needle through the loop on the back. Clean, secure, invisible.
- Or start by holding a 2 cm tail on the back and catching it under your first few stitches.
- End by weaving the tail under 4–5 existing stitches on the back and trimming close.
Reading a Chart
A cross-stitch chart is a grid where each square is one stitch, marked with a symbol or color. Here’s the workflow:
- Find the center. Charts mark center lines with arrows or bold lines. Fold your fabric in quarters to find its center; start stitching from the chart’s center outward. This guarantees the design lands centered on your fabric.
- Count, don’t guess. Count empty squares between motifs carefully. A one-square error early compounds across the piece.
- Work one color area at a time, completing all crosses of that color in a region before switching. This minimizes thread waste and back-side mess.
- Mark off completed areas on the chart with a highlighter or a digital markup. Losing your place is the classic beginner time-sink.
How much fabric do you need?
Count the chart’s width and height in stitches, divide by your fabric count, and add a 5–8 cm margin on every side for hooping and framing.
Example: a 70 × 90 stitch design on 14-count Aida = 5 × 6.4 inches of stitching, cut fabric at least 25 × 28 cm. I always add more margin than I think I need; fabric is cheap, re-cutting isn’t possible.
Your First Project: A Monogram Sampler
A single initial letter in a simple border, about 30 × 40 stitches. Small enough to finish in a weekend, real enough to frame.
Step 1 — Prepare
Cut 14-count Aida with generous margins. Find the center by folding. Serge, tape, or whip-stitch the raw edges. Aida frays aggressively, and frayed edges in a hoop are miserable.
Step 2 — Hoop up
Center the fabric in the hoop and tighten until it’s drum-taut. You’ll re-tighten periodically as stitching loosens it — normal.
Step 3 — Stitch the letter
Start from the chart’s center. Work in rows, bottom legs out, top legs back, all top legs slanting the same direction. End threads by weaving under existing stitches.
Step 4 — The border
Frame the letter with a simple repeating border (a Greek key or a row of small diamonds). Borders teach counting discipline and make any piece look finished.
Step 5 — Finish
Remove from hoop, hand-wash gently in cool water (this also removes hoop marks and any handling oils), dry flat, press face-down on a thick towel. Frame behind glass or mount on acid-free board. Sign and date the back, future you will thank present you.
Common Beginner Mistakes
| Mistake | Symptom | Fix |
|---|---|---|
| Mixed top-leg slant | Patchy, uneven light reflection | Pick one slant; use the row method; check periodically |
| Carrying thread across the back | Dark threads shadow through light fabric | End and restart; never carry more than ~1 cm |
| Stitches too tight | Fabric puckers; holes distort | Ease tension; the stitch should rest, not strangle |
| Losing count | Motif drifts off-center or collides with border | Count twice; mark chart progress; use a magnetic board |
| Knots on the back | Lumps visible from the front on fine work | Loop start; weave ends under existing stitches |
| Thread too long | Tangles, fraying, dull sheen | 45 cm max; strip and recombine strands |
Beyond the Basics: Where Cross-Stitch Goes
Once the fundamentals are automatic, the craft opens up: fractional stitches (half and quarter crosses for curves and fine detail), backstitch outlining for crisp edges and lettering, French knots for texture, and beading for dimension.
Fabric upgrades (28-count linen over two, hand-dyed grounds) transform the look entirely. Many stitchers eventually design their own charts; the grid is a forgiving canvas for experimentation because every design decision is reversible until stitched.
Takeaways
- One rule above all: every top leg slants the same direction. Build this habit from stitch one.
- Start on 14-count Aida with 2 strands; graduate to linen when counting feels automatic.
- No knots, loop starts and woven ends keep both faces clean.
- Start from the center of chart and fabric; count twice; mark your progress.
- Keep thread lengths short, strip your strands, and finish edges before hooping.
Related guides
Blackwork Embroidery — for blackwork, another counted-thread technique; Kantha Stitch Guide for Beginners — for kantha, another beginner-friendly stitch.
Frequently Asked Questions
How long does a cross-stitch project take?
A small monogram: a weekend. A 10 × 10 cm motif: a couple of weeks of evenings. Large reproductions: months. Estimate roughly 100–150 stitches per relaxed hour once you’re fluent, and choose projects that match your patience, an unfinished ambitious piece teaches less than a finished small one.
Can I wash cross-stitch?
Yes, hand wash in cool water with mild soap, especially to remove hoop marks and skin oils before framing. Test red and dark threads for colorfastness on a scrap first. Dry flat, press face-down on a towel.
What’s the difference between Aida, evenweave, and linen?
Aida has an obvious woven block grid (easiest counting). Evenweave has a finer, subtler grid. Linen is an evenweave with natural slubs and the most elegant result — but its irregular threads demand confident counting. It’s a progression, not a hierarchy.
Do I need a pattern, or can I improvise?
Charts are the craft’s native language, but improvisation is absolutely valid, many traditional pieces were stitched from memory. Freehand on the grid is a great exercise once the basics are solid.
Is cross-stitch “real” embroidery?
It has decorated textiles for over a thousand years across every continent, from medieval altar cloths to Palestinian tatreez to Hungarian folk blouses. Anyone who calls it “just” anything hasn’t looked closely at a well-stitched piece.


One Comment